How to generate Testnet API key via Explorer?
Dec-21-2023
The process of securing the API is explained in the API documentation.
Generally: BusyXChain API functions are protected by the JWT token. Another API function generates the JWT token (see more in the API documentation, section 1.1. Generate auth token).
For anyone to call the function to generate the JWT token, apikey must be passed in the request’s header. The apikey has to be generated via the BusyXChain Explorer, and here are the steps:
BusyXChain Testnet API can be accessed via: https://api01-testnet.busyxchain.network/
1) Visit the BusyXChain Explorer: https://explorer.testnet.busyxchain.network/
2) If you are not registered, continue with the subpoints:
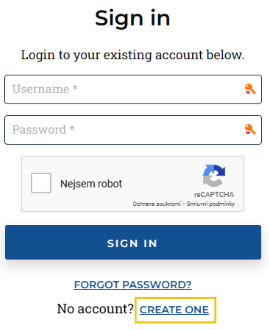
a) Click in the menu on the „Sign In“ button.

b) At the bottom of the form, click on the „Create one“ button, right next to the text „No account?“
c) Complete the registration
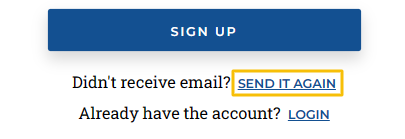
d) Once you have completed the registration, you have to activate the profile*. The activation link will be sent to the provided email address. Until it is activated, you can not log in to the Explorer.
* If you have not received the activation email, you can generate a new one by clicking on the „Send it again“ button at the bottom of the registration form.
3) Login by entering your username and password.
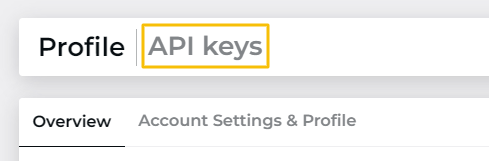
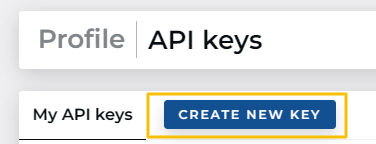
4) Once logged in, click on the „API Keys“ in the horizontal admin menu.
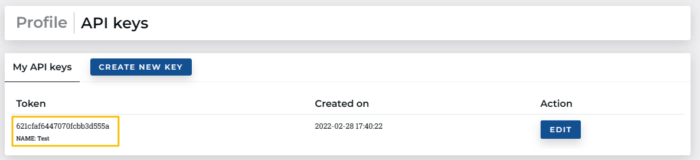
5) Click on the „CREATE NEW KEY“ button.
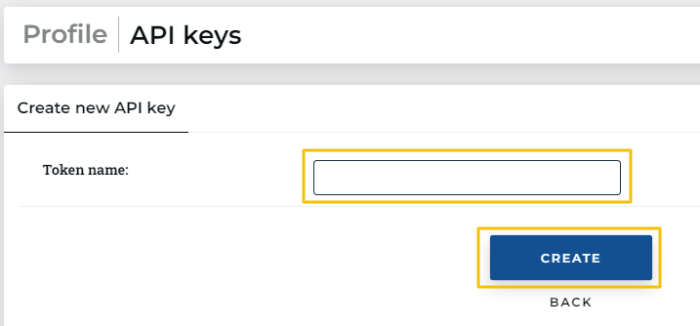
6) Fill in the token name field (just for your reference) and hit „Create“.
7) Once the new API key is created, it will be visible in the „API keys“ section.